|

|
Latest
News Home Contents
Site Map
David Bradburn's Build Progress
| I
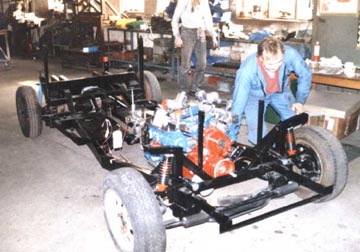
took the engine to the factory when I collected the chassis and
they fitted it. 5th.October 1999. The photo is rolling it out onto
flat-bed trailer for transport home. |
I purchased a rolling chassis ready for a Rover 3.5l V8
engine.
Engine purchased from RPI in Norfolk August 1999. It is ex
military and had been prepared by them for road use.
The heads have
been upgraded to 4.6 valves and made for unleaded fuel. The
compression ratio raised from 8.2 to 9.8. Its output should be a
little under 200bhp. It came painted with a yucky
military preservative green. It is now red and blue, and the
aluminium rocker-box covers and SU carb units I have polished.
|
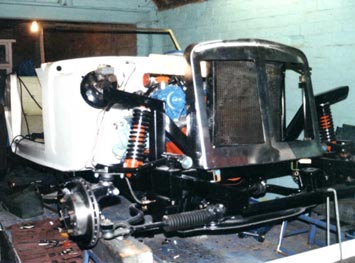
| November
1999 with some parts clamped and temporarily fitted |
 |
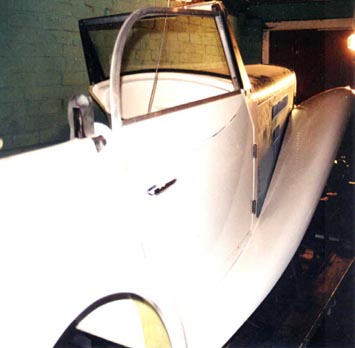 |
May 2000: 6 months into the build. Much of the bodywork
fitted, but lots of finishing of panels and gaps to do. I cannot
do the near-side door until I turn the car round!
|
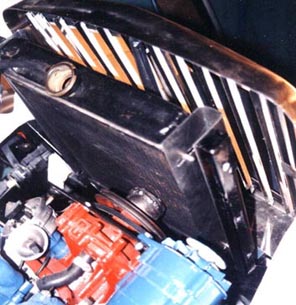 |
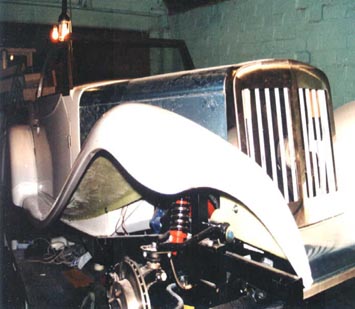
The V8 engine is just about as big as can be put under the
bonnet.
The Radiator (ex FX4 taxi) has to be about an inch forward of
normal, which makes the bonnet metalwork as long as it possibly
can be. The fan (ex Cavalier) is mounted between the grille and
the rad.
The water-pump nuts have been changed for rebated
cap-screws to gain about ¼ inch. This leaves about ¼ inch
clearance each side of the radiator.
|
| The alternator would have been
outside the bonnet, so it had to move forward 3/8 inch to clear
the rocker-box and fold in close to the engine. This involved
moving the water-pump pulley and crank shaft pulley 3/8 inch
forward also. Crank pulley easy with made-up plate. |
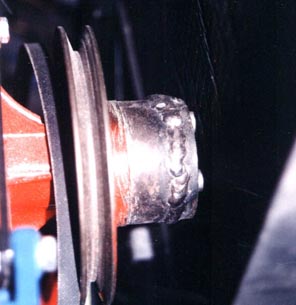
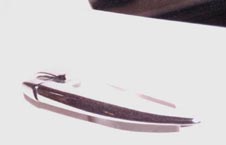
| Detail
of shortened pulley shaft.
Water pump
much more difficult. With considerable help from an engineer
friend we took the pulley, which is an iron casting that includes
a tubular shaft and slots over the water-pump bearing, cut 3/8
inch out of the shaft and welded it up.
|
 |
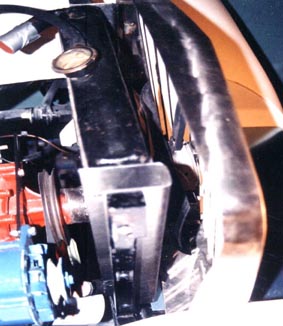 |
Complete
view with alternator |
| JBA informed me Jaguar-type handles were now available for
the car from S&J Motors and I plumped for those, having been
assured by the supplier that they would not be an SVA problem.
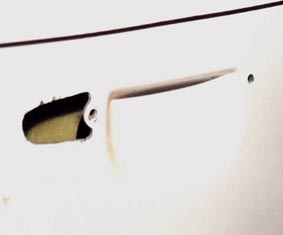
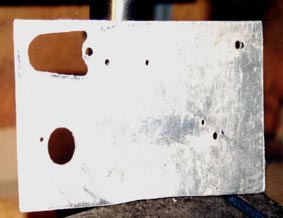
The
next sequence of photos is fitting the handle and aluminium
backing plate. This one is the basic hole cut into the door
|
 |
 |
The handle fitted into place |
| The door with the supplied hand recess cut off |
 |
 |
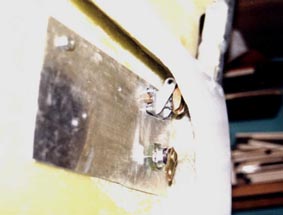
The reinforcing plate (scrap aluminium 1/8 inch thick)
ready to fit |
| Handle and plate fitted: outside |
 |
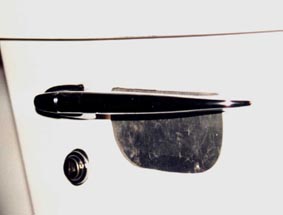 |
The plate will be fibre-glassed in due
course.
|
E-Mail
David
More from David later.
Photos Courtesy of David Bradburn.
|
J
B
A |