|

J
B
A
J
A
V
E
L
I
N |
Latest
News Home Contents Site Map
Alex
Sargent's
JBA Javelin Restoration
|

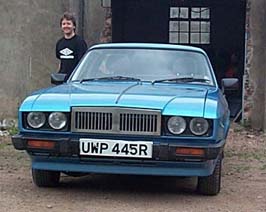
Photo courtesy of Dave Tennant.
|
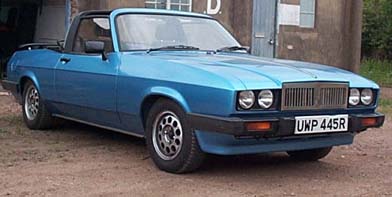
Alex's Javelin fondly known as No1. Shown here on
the JBA stand at a show when it was the JBA factory demonstrator.
Dave Tennant took this photo, whilst visiting
the venue in Leeds.
|
Alex bought the Javelin in the middle of
2000.
Read his own account of his restoration project.
|
|
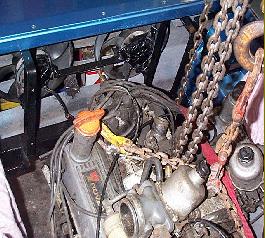
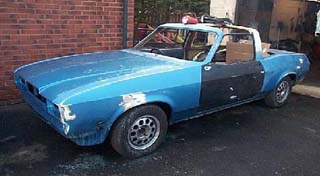
I used the Javelin until the end of the
season, but now it was time to strip the car down for a complete
refurbishment.
The first job was to remove the Ford 2 litre
engine. then all the ancillaries. |
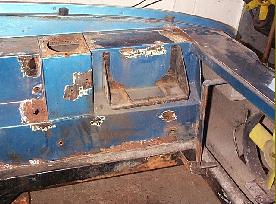
| The Engine bay was in a bad way with
rust and needed hours of restoration work and welding to return it
to pristine condition. |
|
|

|
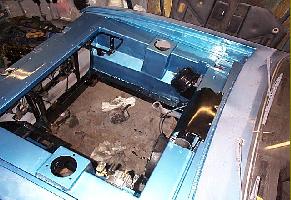
Once all the repairs
had been done to the inner wings, It was time to protect all my
work.
Firstly the
engine bay is treated to a coat of zinc primer. Then a coat of
standard primer. |
| Finally adding a colour
coat.
Plus a coat of
lacquer to help protect the base colour and help it stand out.
|
|
|
|
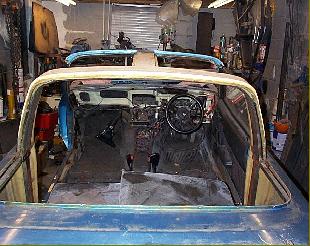
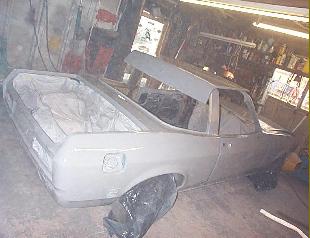
The next stage in the
re-build was to totally strip out the interior and all the roof head
lining, roof vinyl and front screen.
The
passengers door was removed and scrapped as the rot at the bottom of
it was too far gone for repair.
|
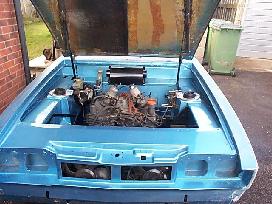
The
boot lid was also marked out for the rear spoiler and temporarily fitted to
check alignment.
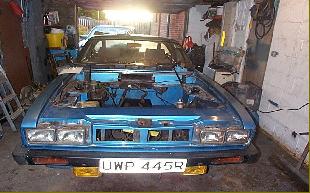
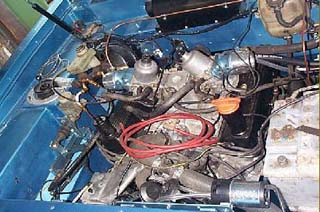
The next stage of the
rebuild involved the fitting of a V8 engine and gearbox from a Rover
SD1
It is a tight fit. I will have to use a different radiator and
relocate it further forward in the bay.
Then I will have to manufacture engine mounts, a gearbox
cross-member and a prop shaft to suit the gearbox.
The
rear diff I will use, will be a 3.09 LSD from a 2.8 CAPRI .
|
|
|
|
I made up engine mounting brackets and
fitted a radiator from a Montego turbo diesel, which I later changed
to a Ford Sierra radiator from a 1.8 turbo diesel, due to it's
larger capacity. Now the engine is finally in place.
The 3.09
LSD diff is fitted along with the prop shaft. The front part
being Rover and the rear part Ford.
|
| The new door is fitted.
I have started to rub down the
body before restoring it to it's original colour Honda metallic
blue.
|
|
|
|
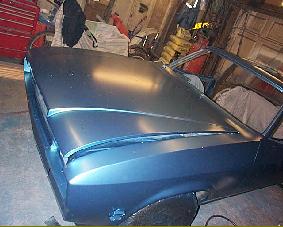
Here I have applied the first primer
coat and then rubbed down the Javelin with wet and dry paper to
check for any blemishes.
Another coat of primer is sprayed and the
procedure repeated. |
| The car was washed and dried.
I tac ragged the car before applying the base
coat. Honda metallic blue. |
|
 |
The last coat is the laquer, which adds
a shine to the base coat.
Finally the car is brought home to continue with
the rebuild.
|
After this the next
stage will be to manufacture exhaust systems, re-build the engine bay wiring
loom and begin putting the rest of the car back together. Fit the cooling
and fuel systems so that the engine can be test run.
| I am almost there, but
still have lots of minor things to do though.
The exhaust headers have been a
nightmare.
Trying to find the head light bowls
for the original lights so far have eluded me. I have opted for the
alternative of twin round ones from the Capri . |
|
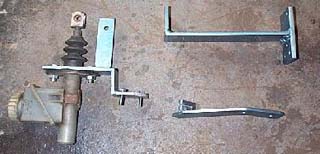
Another problem still to over come is the
clutch, trying to sort out the mechanism to operate it as space is very
limited.
| The clutch mechanism I found that would
suit is from a Volvo 740.
However I did have to design and make up the
brackets. The clutch works off it's own original cable. |
 |
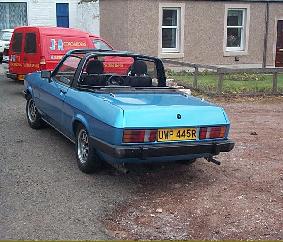 |
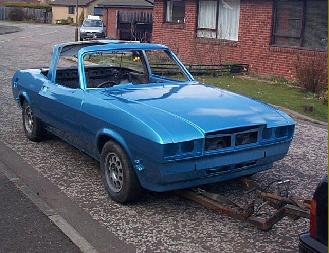
On the road again No.1 arrives at the
M.O.T. station. Will she pass?
After all that work she should. |
| The Javelin is virtually complete with
some minor items still to be completed. These don't affect the M.O.T. or
prevent the car from being used on the road.
No problems here.
The Javelin No.1 Passed with flying colours.
|
 |
The Javelin is now taxed and is ready for some short test
runs, to sort out any teething problems. Now I can attend to the little jobs
that were not required for the M.O.T.
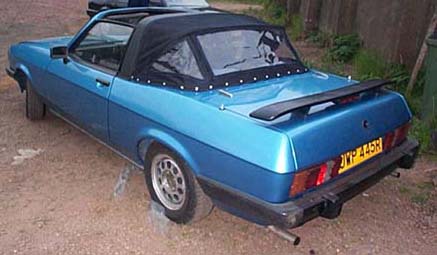
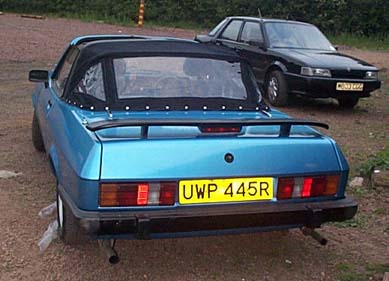
First the Hood
With such variable weather here in Scotland
the hood section was a priority.
| I was more than pleased, by the way
the hood turned out.
An excellent job David Thanks very much.
The price was very reasonable too. |
 |
|
Details of Alex's Work &
Suppliers.
Exhaust Manifold Flanges purchased from Lolocost
Kit Car Spares.
Remote Oil Filter Kit purchased from Merlin
Motor Sport.
 |
Rear Hood made by David
at
DSC. Covers. Unit D, Gilmerton Estate, East Fortune, Lothian.
Tel:- 01620-880-652 |
Exhaust Headers own make & design. Welded by
Mitsui Babcock.
Engine Mounts own make & design, cross between
Rover & Ford. Welded by Mitsui Babcock.
Rear Axle Cross Frame location kit own make &
design.
Lower Front Anti-Roll Bar Mounts 1" lower own
make & design.
O/S Targa Top lock/unlock mechanism own set up to
work similar to N/S.
Radiator Electric Cooling Fans from Ford Sierra
1.8 turbo diesel. Mounting brackets own make.
Recaro Front Seats from a Vauxhall Vectra SRi.
All Welding repairs, Bodywork, Mechanical and
Wiring all done by myself. |
Check out Alex's own website Here.
Javelin
Part 1 Javelin Part 2
Javelin Part 3
My thanks to Alex Sargent for his photographs and help, in compiling this page.
Also to Dave Tennant for finding the photograph at the top, after all
these years.
|
J
B
A |